- Download the App
- Create Your Account
- Share Your Restaurant's Identity
- Introduce Your Menu
- STEP 5A Upload or Scan Your Menu
- Scan Your Physical Menu
- Upload as a Document
- Digitalization Phase
- STEP 5B Digitalizing Your Menu Independently
- Create the Menu
- Add New Products
- Product Details
- Adjust Language Settings
- Efficient Product Duplication
- Customize the Ordering Experience
- Deploy the QR Codes
STEP 1 : Download the App
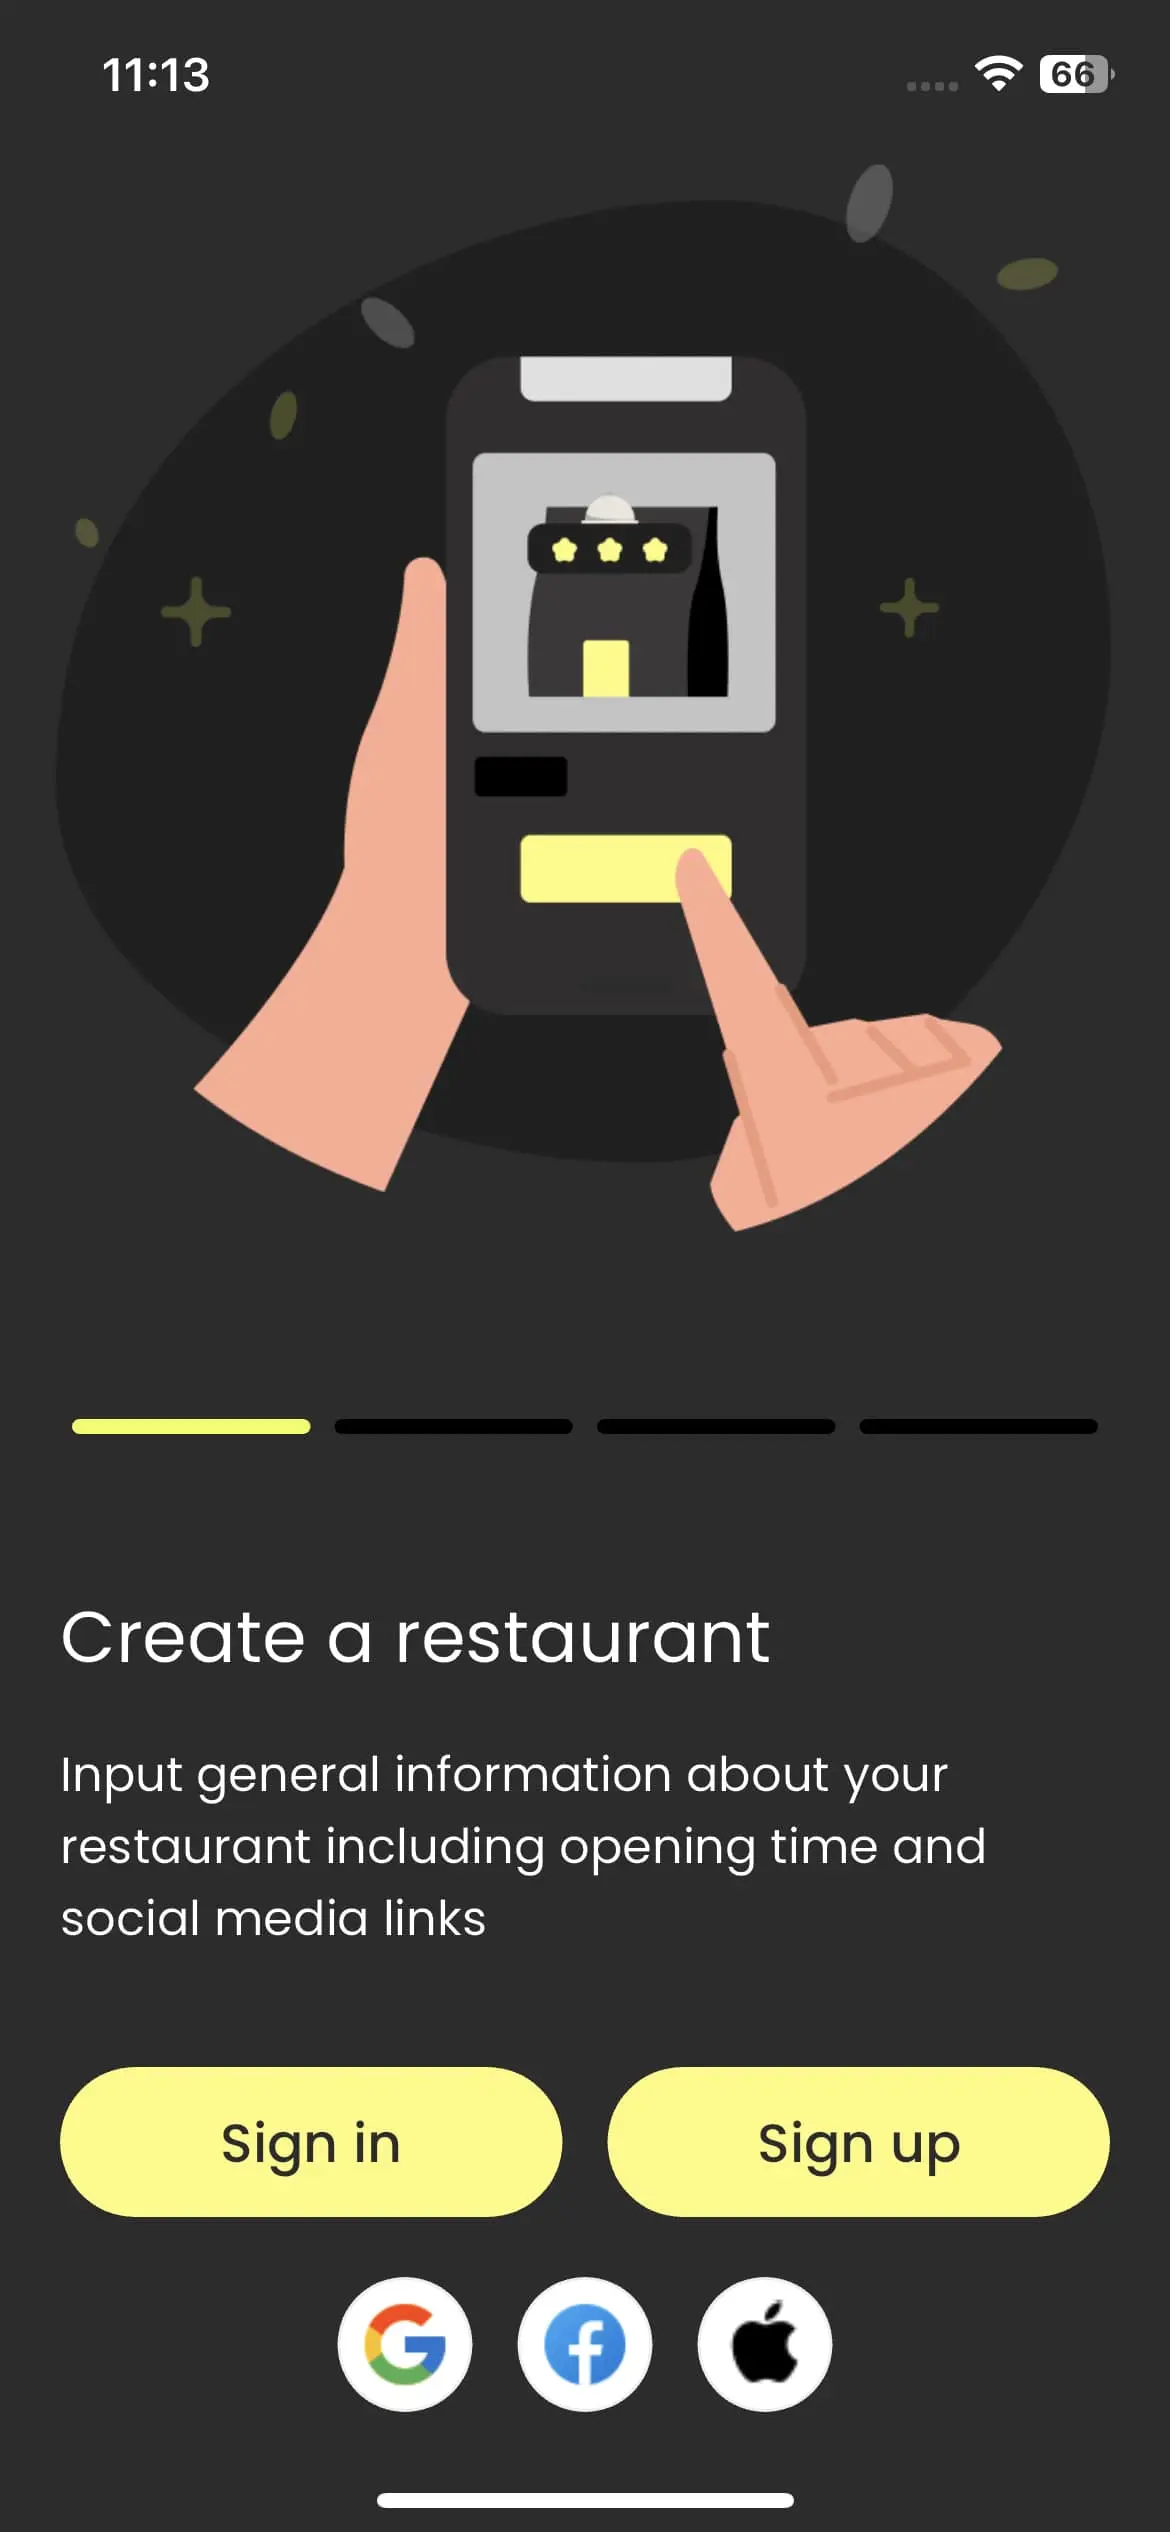
It's just a five-minute process! Once downloaded,you're on your way to transform your restaurant's ordering system.
STEP 2 : Create Your Account
To start, you'll need an account. Sign up and verify your credentials.

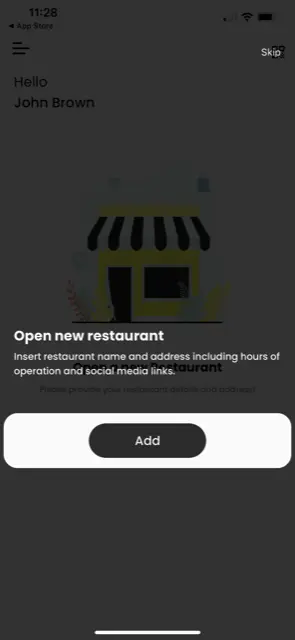
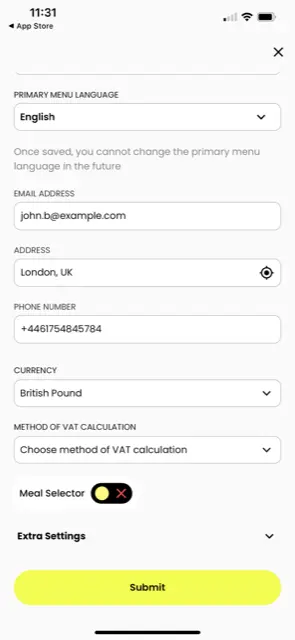
STEP 3 : Share Your Restaurant's Identity
Input essential details about your restaurant - its name, address, and primary language. This information is pivotal for customer receipts and translating item names. After entering, hit the 'Submit' button.


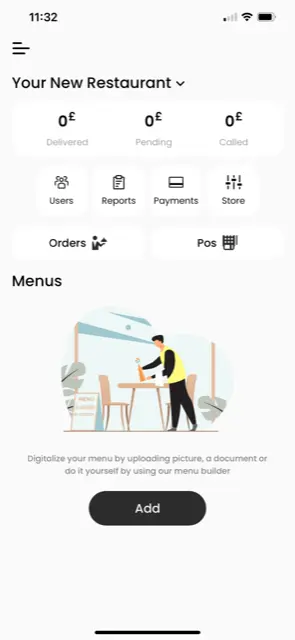
STEP 4 : Introduce Your Menu
Got a theme for your menu? Give it a name, like 'Summer Menu' or 'Pool Bar Menu'. You also need to specify the number of tables in your restaurant. Once done, click 'Submit'.
STEP 5A : Upload or Scan Your Menu
It's time to digitize your menu. First, navigate to the menu screen on your system. Here you'll see an 'Upload' button. You have two options for digitizing your menu:
Scan Your Physical Menu
Use your phone's camera to capture each page of your physical menu. After scanning each page, click 'Submit' to upload the images.
Upload as a Document
If you have your menu in a digital format already (such as a PDF, Excel file, etc.), simply upload the entire file. Once the file is selected and uploaded, hit 'Submit'
Digitalization Phase
We take it from here! Within 24 hours, we'll transform your physical menu into a digital format. However, if you're on a tight schedule and can't wait, you have the option to upload menu items manually. Detailed guidance on how to do this is provided in subsequent steps, ensuring you can proceed at your own pace. This flexibility allows you to quickly adapt and utilize your digital menu, enhancing both operational efficiency and customer experience.
STEP 5B : Digitalizing Your Menu Independently
Create the Menu
- On the restaurant home page, click the "Create Menu" button at the bottom.
- Upload a logo for your restaurant, which will serve as the default image for all your products.
- Provide a menu title (e.g., "Summer Menu 2025").
- Save your settings.
Add New Products
- Once on the next screen, click the "Add New Product" button.
- Choose the product category (e.g., coffee) and assign it to a department (Kitchen or Bar) to ensure the item is routed to the appropriate Kitchen Display System (KDS).
- If necessary, create a new department by clicking the "+ New" button next to the department selection.
Product Details
- Provide a product title (use the coffee example again), description, allergens, labels (e.g., spicy, vegan), price, VAT, COGS, and format extras.
- Fill in the translations if your menu will be multilingual.
Adjust Language Settings
- After setting up the menu and items, go to "Restaurant Home," then "Settings."
- Click on "Extra Settings" and scroll to the bottom.
- Choose all the languages you want to display to the client.
Efficient Product Duplication:
- To add new products quickly, duplicate existing ones. Click on the three dots at the top right of the product card.
- Select "Duplicate," then edit the title, category (you can create a new category by clicking the big yellow plus sign at the bottom), description, price, allergens, etc. This process speeds up the addition of similar or variant products.
STEP 6 : Customize the Ordering Experience
In the menu screen, you can choose how you'd like your customers to place orders. Would you like to:
- Allow self-ordering?
- Let them pre-pay through Credit Card, Apple Pay, or Google Pay?
- Or maybe have a self-order system that requires a pin code set by you, which aids in controlling the order flow to your bar or kitchen. In this case, clients would request the pin code from the waiter before placing an order.
STEP 7 : Deploy the QR Codes
Once your menu is ready, we'll send QR codes to your email. Print these codes and place them on the tables. Don't worry; if you need more, you can access and print them from the app, either individually or up to 9 per sheet
- Download the App
- Create Your Account
- Share Your Restaurant's Identity
- Introduce Your Menu
- STEP 5A Upload or Scan Your Menu
- Scan Your Physical Menu
- Upload as a Document
- Digitalization Phase
- STEP 5B Digitalizing Your Menu Independently
- Create the Menu
- Add New Products
- Product Details
- Adjust Language Settings
- Efficient Product Duplication
- Customize the Ordering Experience
- Deploy the QR Codes


